PhpStorm 远程调试 WordPress 一例
PhpStorm 调试概述
-
PhpStorm 调试 PHP 可以分为本机调试和远程调试,为了更好的模拟测试、生产环境,建议做远程调试。一般的开发环境为 Windows,而生产环境一般为 Linux 环境。
-
PhpStorm 调试支持 Xdebug 或 Zend Debugger ,PhpStorm 推荐使用 Xdebug。具体文档请参见 官方调试文档。
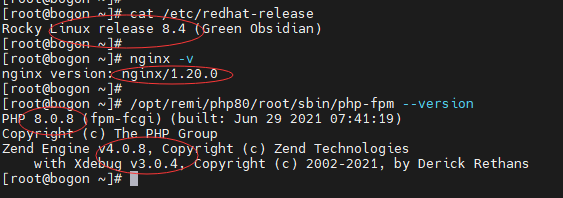
本篇所述环境为:
- CentOS 8.4
- Nginx 1.20.0
- php-fpm 8.0.8
- Zend Engine v4.0.8
- Xdebug v3.0.4
- PhpStorm IDE 调试原理
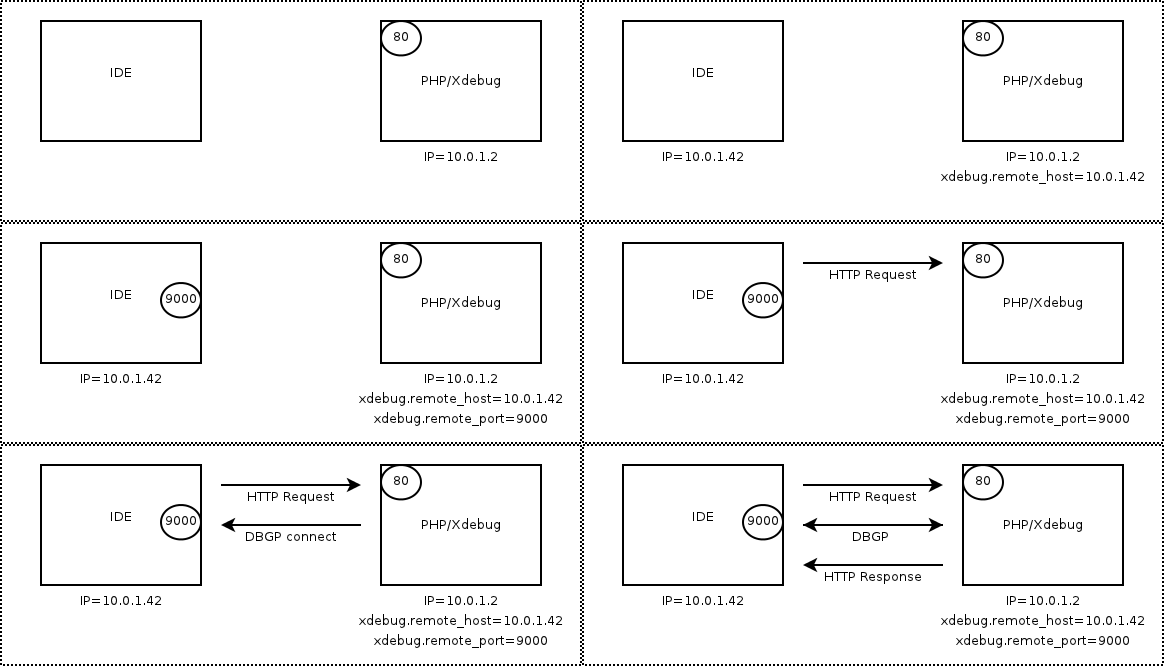
如图:右边机器(IP=10.0.1.2)是布署了Nginx/php的服务端(下文简称php服务端),左侧机器(IP=10.0.1.42)是布署了IDE(比如Phpstorm)的IDE端(下文简称IDE端)。调试中基本通信过程说明:
-
打开浏览器,访问web页面,nginx通过fastcgi网关接口加载PHP脚本运行 (对应图上第一个朝向右的箭头)。
-
然后php解释器(当然必须已装好Xdebug扩展),向IDE端的9000端口( 本文下面用的都是9001,原因是我本机9000端口被其它程序占用)发起基于DBGP协议的调试请求。
-
IDE端收到DBGP协议请求后,就可以开始单步调试了。
-
调试完成后,服务端php解释器执行完毕,向浏览器返回response。
安装服务器环境
请参见以下文档安装概述中环境:
-
在 CentOS 8 / RHEL 8 上使用 DNF 及 DNF module 安装 Nginx 1.20 及 PHP8.0
-
安装完 Nginx 及 PHP 后就可以安装 WordPress 了
安装 Xdebug
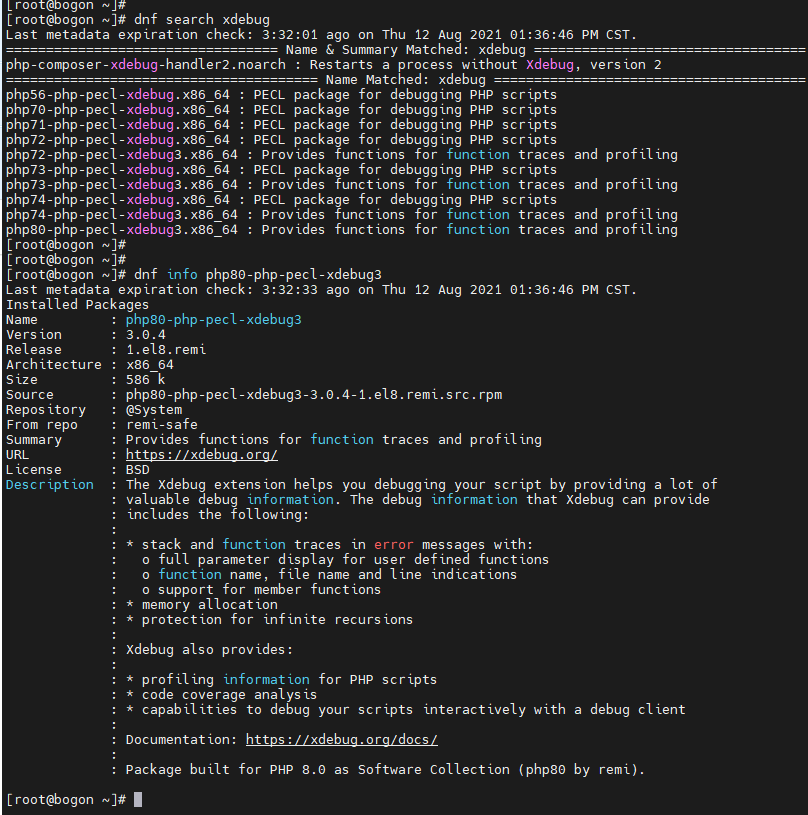
正常安装 REMI 仓库后,就可以 dnf search 到Xdebug了
到此,服务器端就配置完成了。
浏览器调试插件安装
根据 Xdebug 或 Zend Debugger 文档描述,在调试过程中,需要设置 GET/POST 或者 COOKIE 参数,这些参数可以手动设置,但是使用浏览器扩展很方便。一下是扩展插件及支持的浏览器:
| chrome | Firefox | Internet Explorer | safari | Opera | |
|---|---|---|---|---|---|
| Xdebug | Xdebug Helper | Xdebug Helper or Xdebug-ext | PhpStorm bookmarklets generator | Xdebug Toggle | PhpStorm bookmarklets generator |
| Zend Debugger | zDebug or Zend Debugger Toolbar | Zend Debugger Toolbar | |||
| Z-Ray for Zend Server version 7 or later. PhpStorm bookmarklets generator otherwise | |||||
| Z-Ray for Zend Server version 7 or later. PhpStorm bookmarklets generator otherwise |
由于国内安装 Chrome 插件比较困难,所以建议使用 Firefox 调试,安装 Firefox 的 Xdebug Helper 插件:
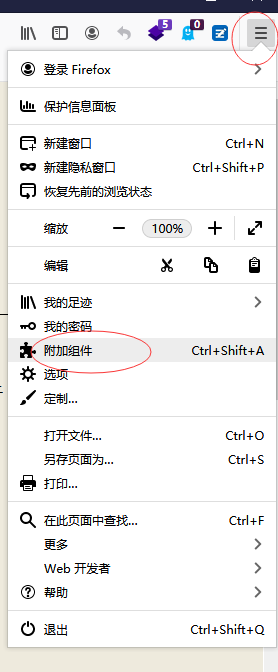
- 打开 Firefox 附件组件设置:
- 搜索 Xdebug Helper 插件

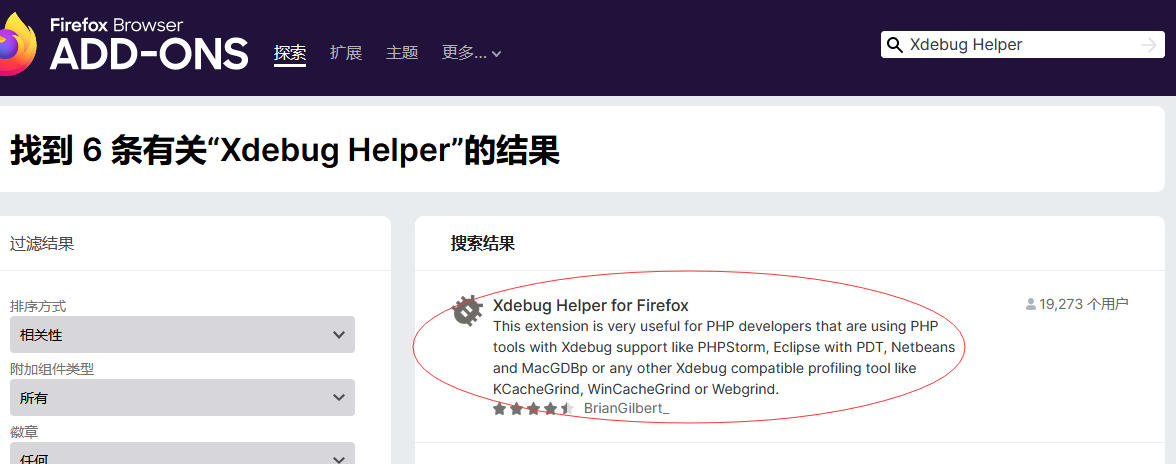
- 查找并安装 Xdebug Helper:
- 安装完毕后进行调试:

PhpStorm 远程调试
创建工程
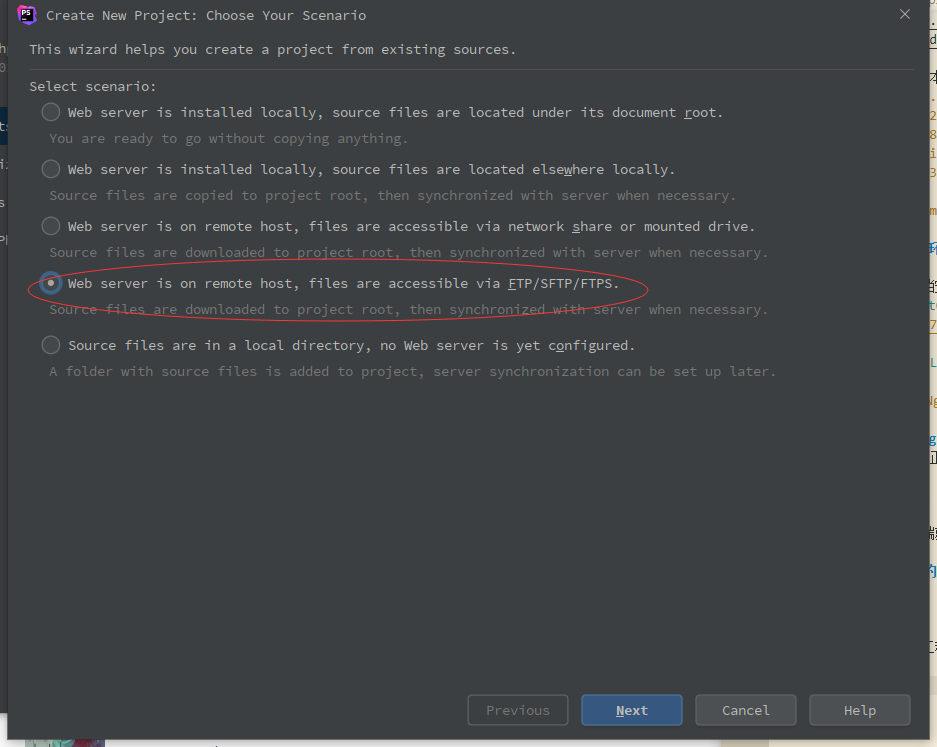
- 创建已存在的工程

- 由于我们使用的是 虚拟机搭建环境,可以很容易的使用 FTP 协议传输文件,所以 选择:
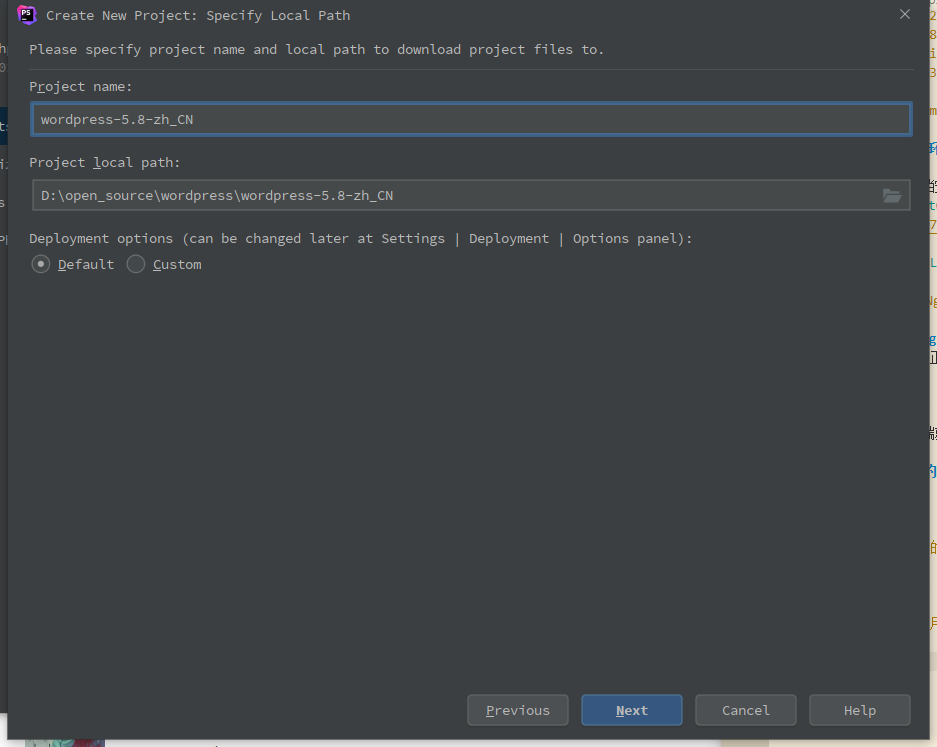
- 设置工程名称
- 添加远程服务器信息
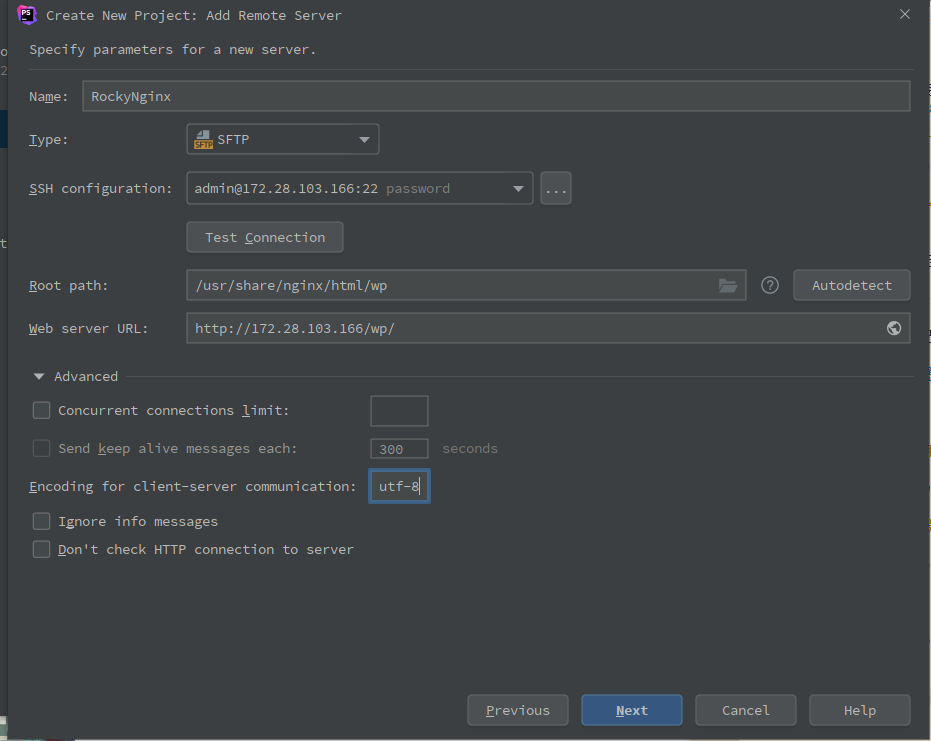
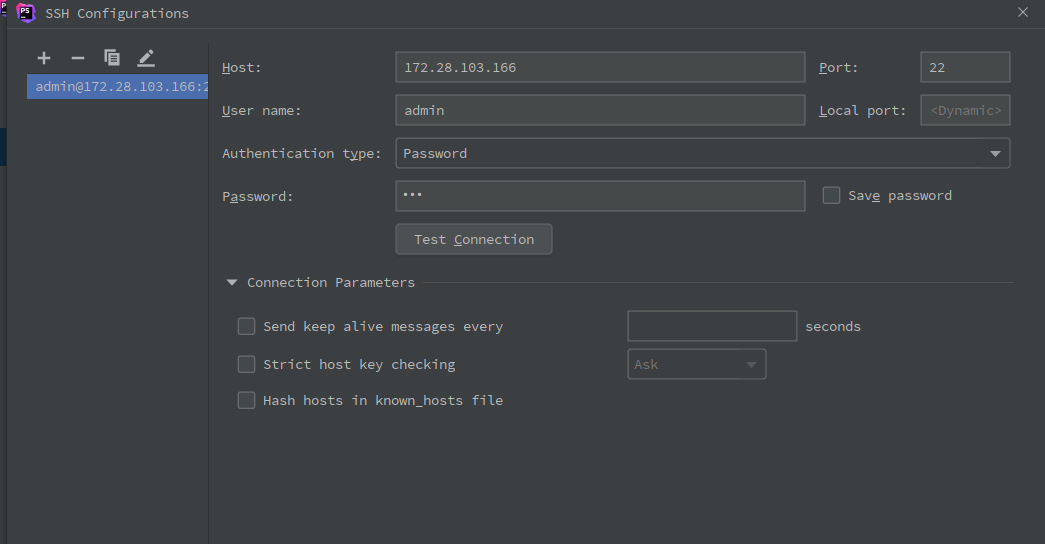
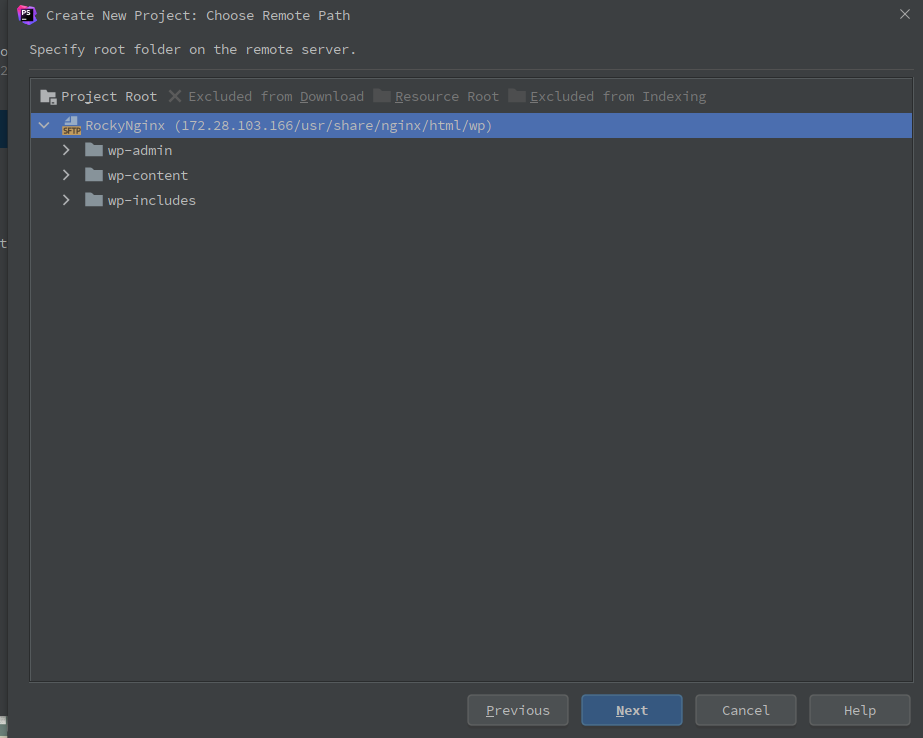
- 选择远程路径
如果前几步配置好的话,这里就可以直接 Next了
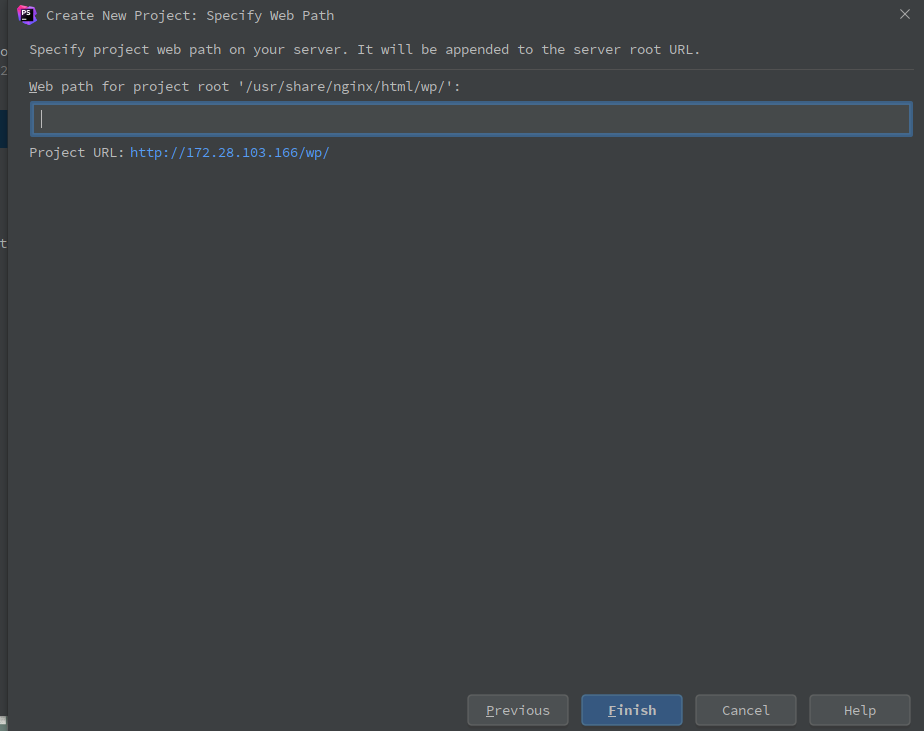
- 指定 Web 路径:
同上,也可以直接 Next:
- 然后,会出现一个 failed:
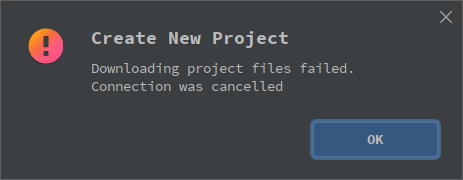
- 奇迹
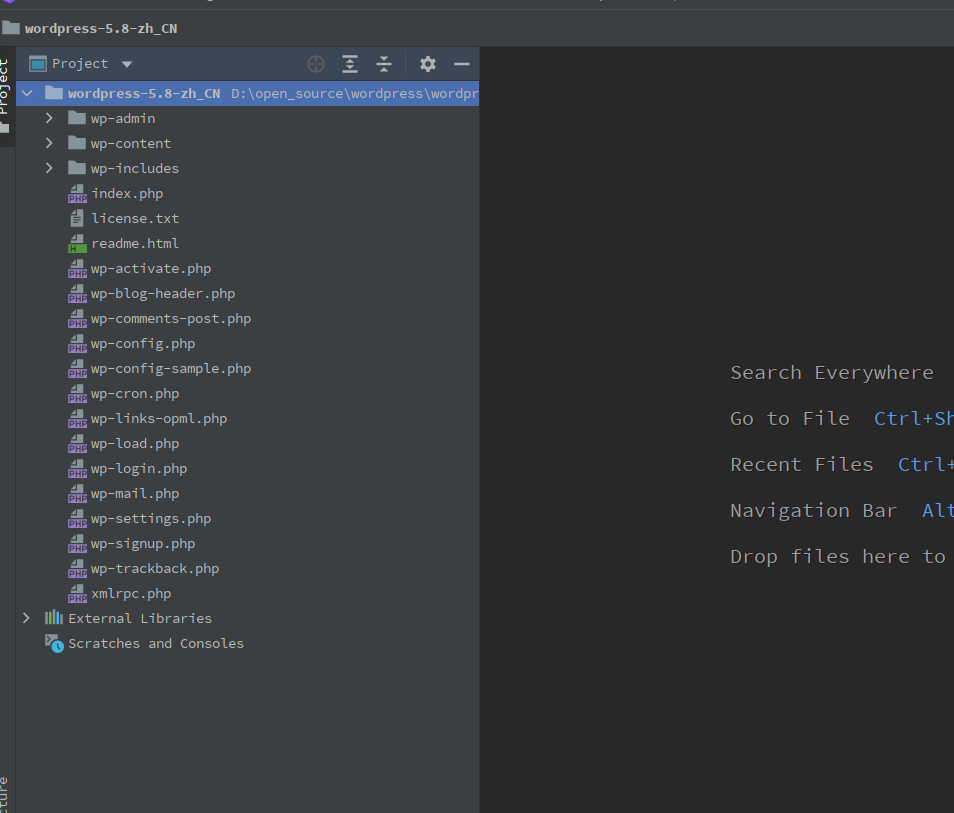
按照 1-5 步骤 重新来一边,你会发现奇迹。
PhpStorm 设置
- PhpStorm 设置:
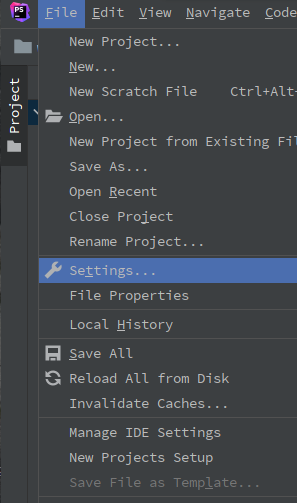
file -> settings 打开配置页面:
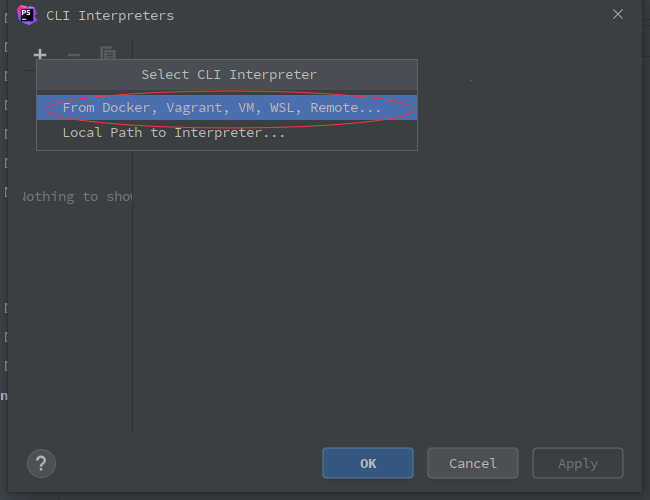
- 首先配置一个 CLI Interpreter:
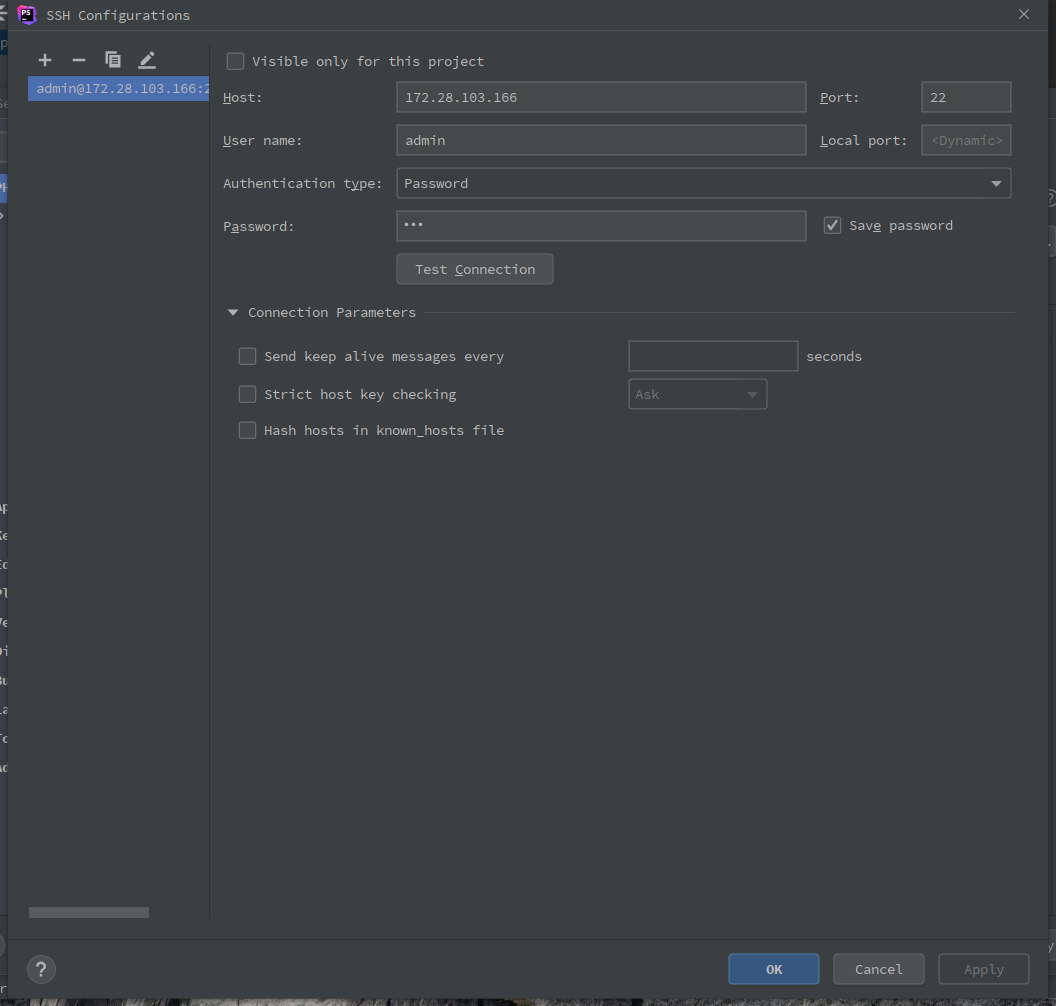
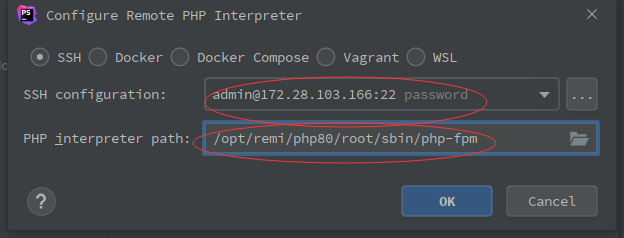
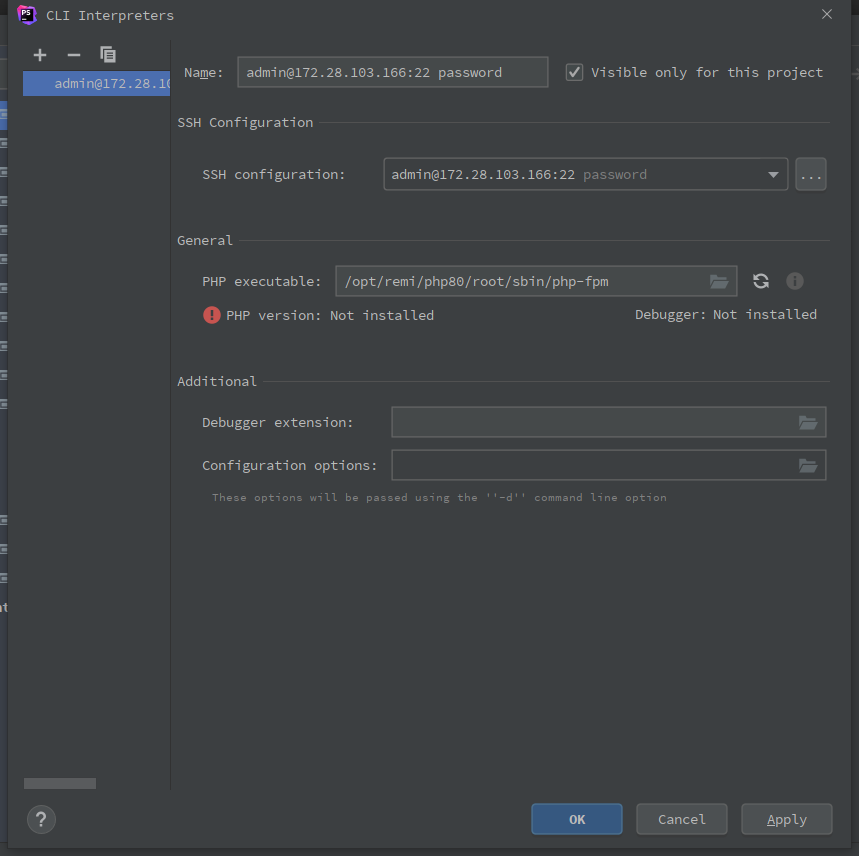
- 配置一个 server
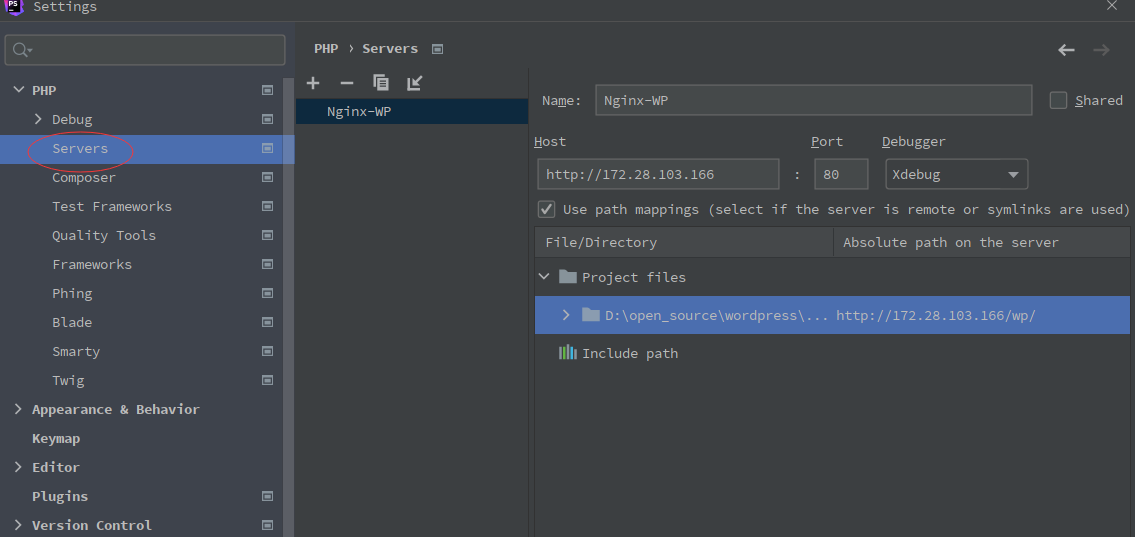
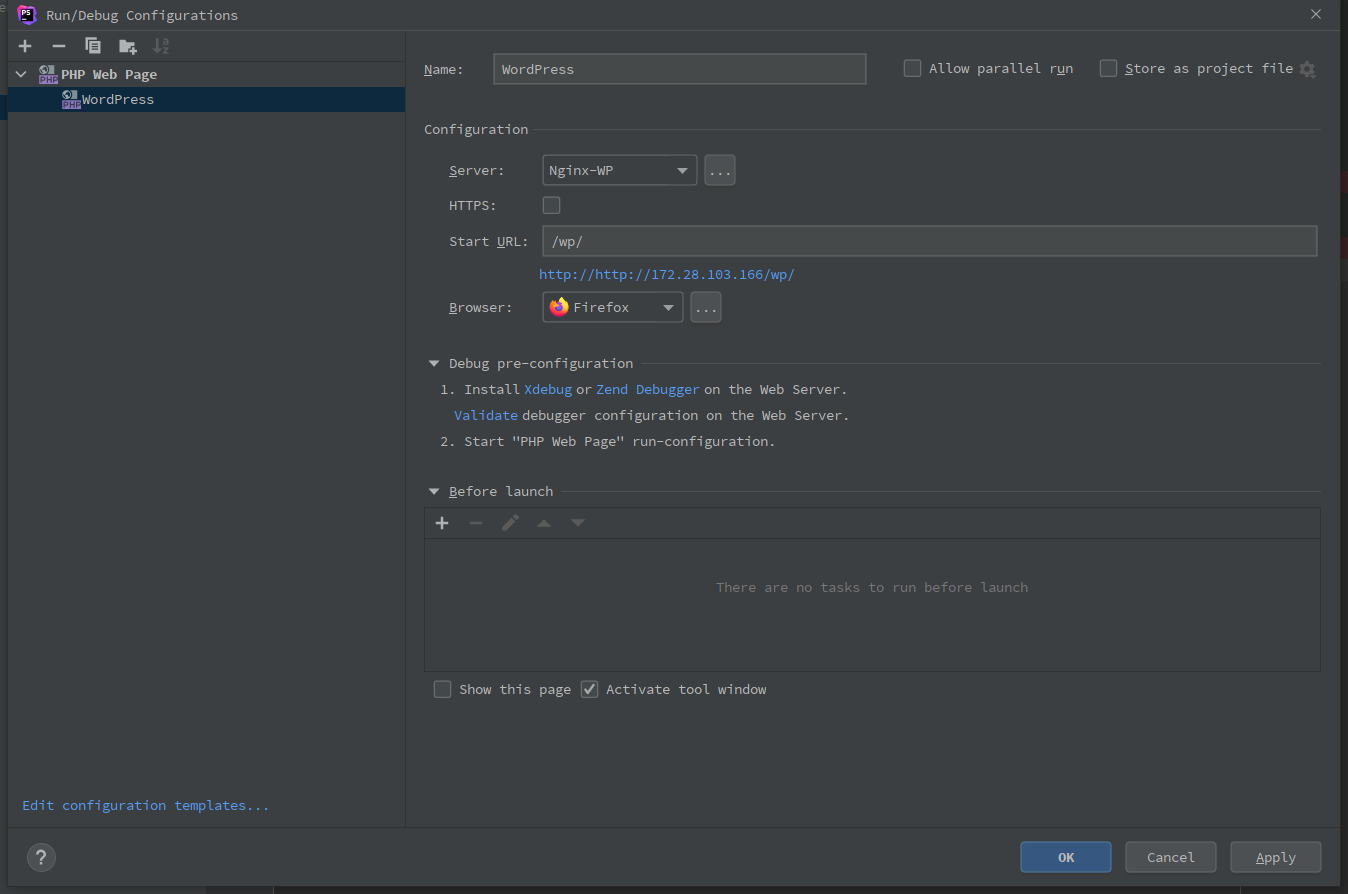
- 添加一个 运行配置:

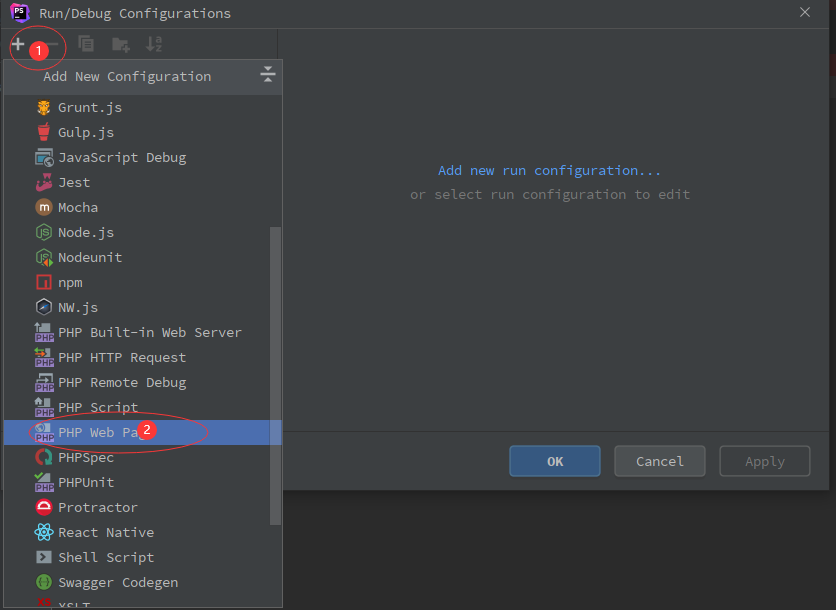
校验错误:
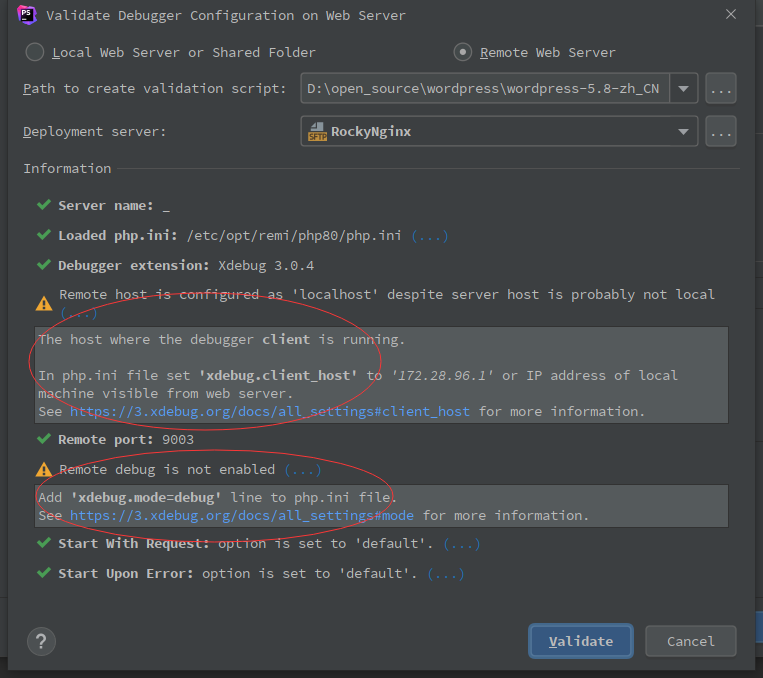
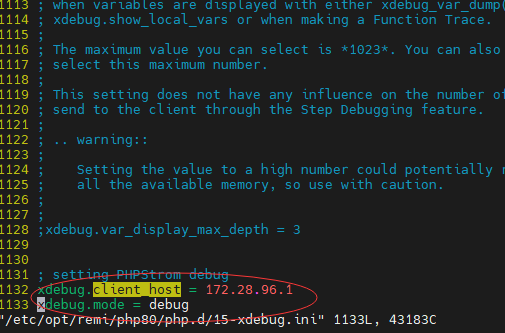
在服务器段 vim 打开 php.ini 配置文件,按照上图提示加入参数:
systemctl restartphp80-php-fpm 重启php-fpm 再次校验成功:
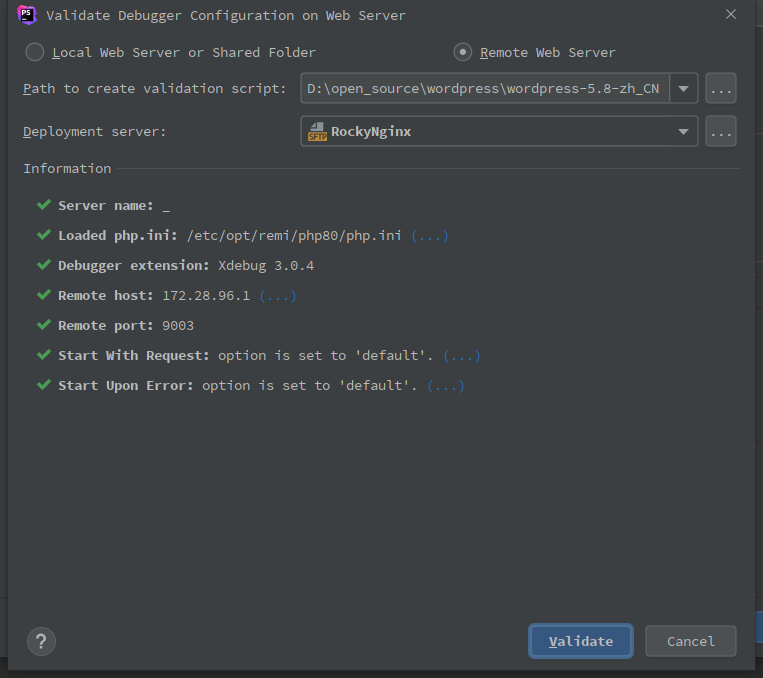
配置后为:
- 运行调试
浏览器打开或者点击

出现:
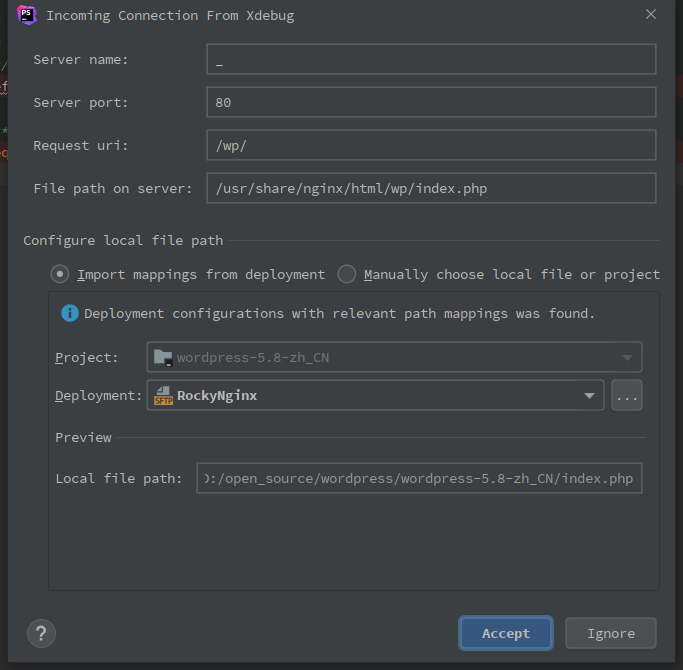
点解 accept 接受调试
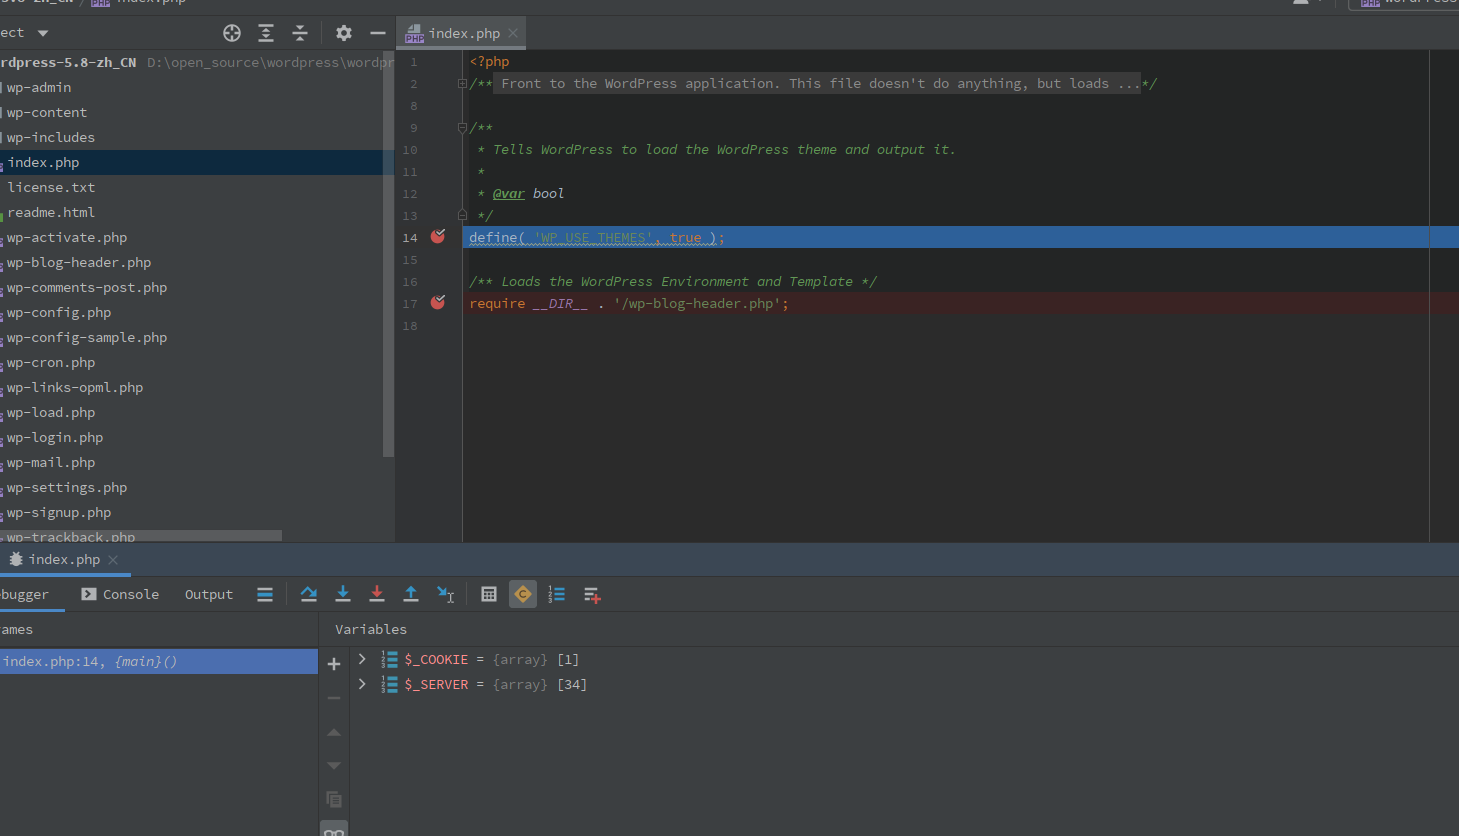
- 成功捕获到调试信息
